General
Making a Leather Belt for Your Cylinder Phonograph
1. Get belt material that is about one inch longer than the distance around both pulleys.
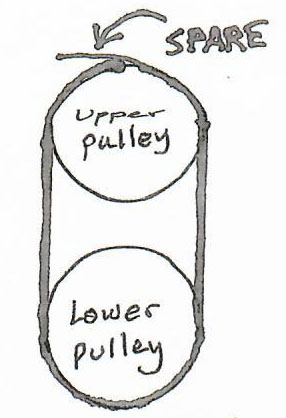
2. With a sharp pencil, mark the distance around the pulleys on the dull part of the belt from one end to the other.

(the image shows the leather strip’s length – the distance around both pulleys – and an additional 1″ to spare)
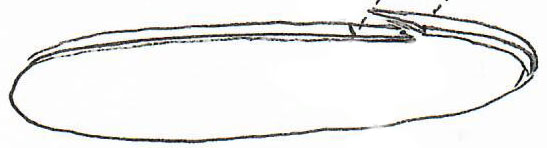
3. With the shiny side down, using a sharp razor, start at the mark on the dull side and cut, forming a chisel taper to the end.

(the image shows the chisel taper cut within the extra inch of leather mentioned earlier)
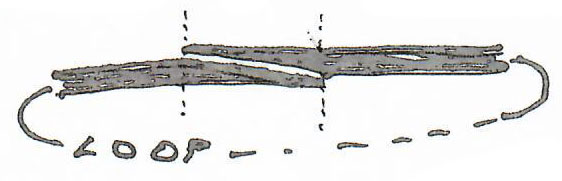
4. Form a loop, shiny side to the outside, meeting the untapered side to the mark where the taper begins, and make another pencil mark on the shiny side.
5. Cut another chisel taper on the shiny side as shown.

6. Holding the belting with the chisel tapers overlapping, this should be the correct distance around the pulleys.
7. Preferably using contact adhesive for leather (I use Beacon 527 multi-use glue), smear some glue on both contact sides and let set for a while according to the directions on the contact adhesive tube. Then, carefully align the chisel taper to form the complete belt. Apply some pressure to hold the chisel taper ends. Allow the adhesive to dry completely (overnight, preferably) before placing the belt over the pulleys.